Milestone Five: Community Book or Website Creation
At this Milestone…
Students learn about the important parts of a book or website and collaborate to put all of their work together in the creation of their public product.
Key Question: How can we put all of our work together so everyone can see it and learn about one another?
Formative Assessment at this Milestone: Completed personal page that includes community web, self-portrait, family picture, and room map
Suggested Resources at this Milestone:
How Books Are Made (video)
*Depending on your public product selection, you will decide what learning experiences to include. We have included options for both ideas (book/ebook or website).
Day One: Exploring Non-Fiction Texts
Even if your product is the website, reading and exploring non-fiction texts will support children in their learning about how to teach others about their community. Today, we will revisit some of the non-fiction books children have read during the project and look for text features of non-fiction or “All About” Writing, so that children can teach each other all about their community.

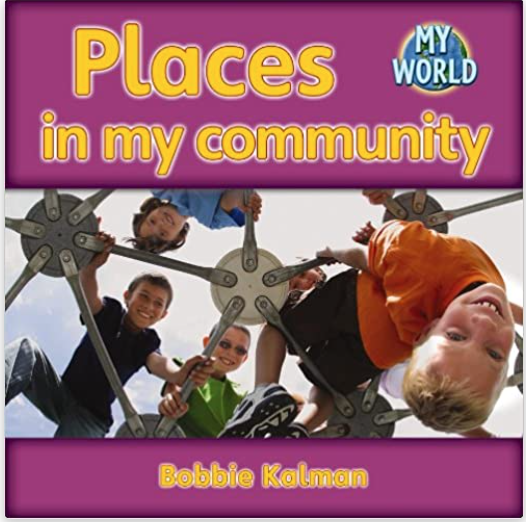
Children might bring a non-fiction book to a class meeting and discuss what they notice about it. Draw students attention to the words and pictures, along with text features specific to non-fiction “teaching books” such as labels, photographs, diagrams and text. Record students’ observations. You might also talk about the term “author” and highlight who the author of the books are, and emphasize that they are authors too - about to publish their ebook or website to teach one another about themselves.
Virtual Author Visit: This is a great opportunity to contact an author who can virtually present to your students about their job and books they have written. If possible, this author could be a part of the presentation of the public product, or return to provide feedback on student work.
Day Two: Exploring parts of non-fiction books or websites
Remind children of their driving question - they are almost ready to answer it! They are getting to know one another and creating a classroom community by making their own book or website.In order to do that, we need to know the important parts of a book or website so that we can make sure to include them.
If your public product is an ebook or regular book…
Show children different ebooks you have read or show them free children’s Kindle ebooks on Amazon as examples. Ask students what they notice and record their responses. Possible observations include:
Title
Page numbers
Pictures
Words
Author name
Page layout
Parts of a Book Scavenger Hunt
Students can follow-up this lesson by completing a “Parts of a Book Scavenger Hunt.”
As a Seesaw or online activity, students can find a book and make a video of themselves pointing out the different parts of a book. They can also complete a checklist to support their investigation. If you are making an ebook, consider sharing ebooks during your online meetings and have children “explore” them by pointing things out and drawing them with your support. Alternatively, link an ebook to a Seesaw lesson so that children can independently explore it.
In-person: Students can be given a book from the classroom library to complete the Non-Fiction Book Scavenger Hunt

If your public product is a website…
Show children some different websites and ask them to notice different elements, for example:
Website name/heading
Pictures
Words
Page layout
Videos/photos
Clickable links

You can also guide them through a similar scavenger hunt, or enlist parent help at home to do so. Include some suggested websites that children can explore independently as well. Here are a few websites that focus on sharing about a community that children might explore:
Day Three: eBook/Website Creation*
*This process may take several days as you collect and organize student work. If you are facilitating small groups online, or even have 1:1 time with students, this is a great opportunity to talk through each child’s individual page and co-design it.
You may also choose to take extra days to show children’s pages and have the group provide some feedback on pages and then make revisions. Depending on what you decide, there are different ways to layout the book/website. Follow your students’ lead and your own comfort level and amount of time.
Revisit the components that will make up each child’s page of the book: Self-portrait, with some labels of children’s favorite things to do, Portrait of family (labels, names etc.), Map of favorite room in the home and/or map of the home. You might also include the community model or web.
Explain that each student will have a page in the book. Tell students that they will get to decide on the page layout, much as they saw in the eBooks and/or websites. Have children make decisions such as: Do you want your self-portrait to go first and then what do you want others to see? Should we, for example, have all the self-portraits together in one “chapter” or do we want each student to have his /her own page? Demonstrate (using their digitized book pages) how the book will be assembled using the online platform (Google Slides, Book Creator or other resources provided).
If you are in-person: meet with students individually to design each page layout.
Day Four: Choosing a Book Title/Website Name
Engage students in a discussion on what to name their book. This is an authentic opportunity to discuss what a “title” of a book is and why we need one. Read titles from books as examples. What are some characteristics of titles? (i.e. they are usually short, catchy, and draw the reader into what the book is mostly about.)
Elicit ideas from students for book titles or website names. Write their title suggestions down to discuss and vote to determine a title. Before voting, talk to children about how voting works and how they might respond if their idea is not selected in the end.
If there is time, children can draw a suggested front-cover illustration and submit for consideration, or you might collect each child’s drawing and format so all can be placed on a grid for the cover design.
*Use the remaining days as needed to complete the book